Hiya!
I hope everyone had a great holiday!
There are a couple of subjects I’ve got going on today, nails and hair.
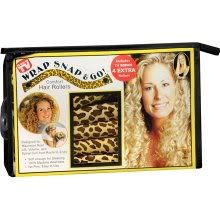
So lets start with the hair… I’ve been eyeing these rollers for a while now I finally gave in and bought them and I’m so glad I did. They are called wrap snap & go rollers.
They are around $10 @ Walgreens
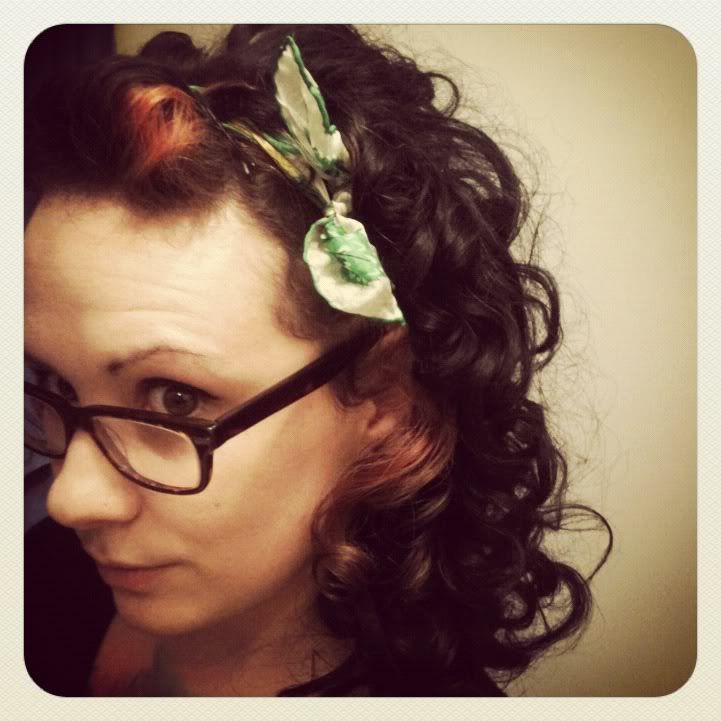
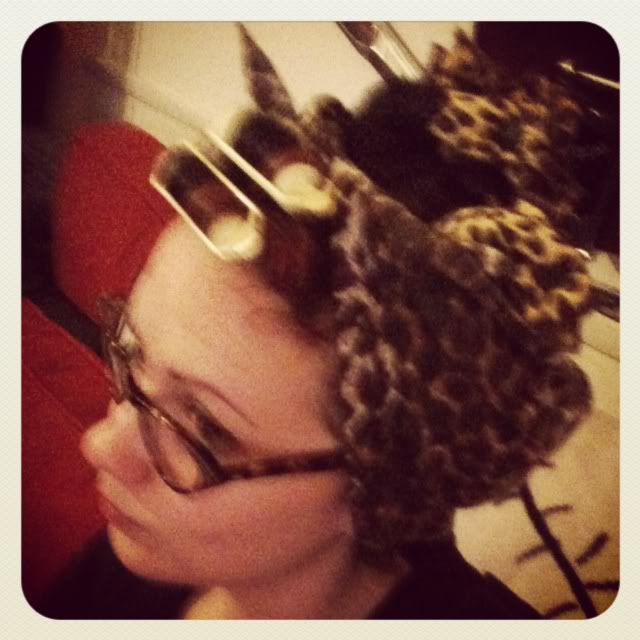
They are sort of a combination of rag rolling and foam rollers. My hair is already naturally curly but sometimes I just need a different type of curl. These rollers are so great. They are super soft I slept in them all night without any trouble I nearly forgot they were in. I’m sure my hubby got a good chuckle I had a head full of leopard print rollers, but in the morning the results were worth it! If you’re thinking about getting them I suggest you do! These babies will save me a ton of time in the mornings! I’m going to play around with them a bit this next week then I’ll do a tutorial but they are so easy to use, its all in the name… want to see what all the rave is about?…here it is…
all I had to do was take them out finger comb my curls out and tie a ribbon in my hair!
Okay and for the nails, my hubs got me this amazing book for Christmas it’s called Vintage Hairstyling. I know, I know a book of hairstyles inspired my nail tutorial, it happens. It’s full of beautiful photos, great hairstyles with tutorials, techniques and tips. I’m constantly playing around with retro and vintage hairstyles…I just love them so much! Well in the book I came across the bare moon nail, aka half moon manicure…I’m such a huge fan of this, It can be so elegant and beautiful… so here is a really easy way of doing this and I wanted to share it with you!
There are two variations of this we will start with the basic bare moon…
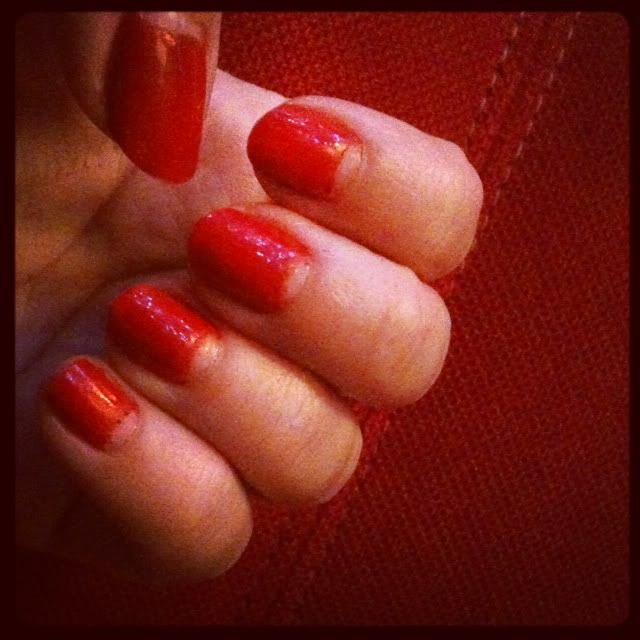
If you want to achieve this look
 But first here is what you’ll need red polish, reinforcement stickers (you know those little circular stickers used to stop paper from ripping in your binder ->
you can find these at most dollar stores and in the office/ stationary supply section in Wal-Mart/ Target)and a top coat!
You’re going to start with clean, bare, and filed nails.
Then you’ll want to place a reinforcement sticker on each nail, sort of like the shape of the moon of your nail. Quick tip: Cutting a slit in each sticker will allow the stickers lay more evenly on your nail. Press down on each one, making sure they are on your nail good! If you don’t have any stickers (neither did I) just skip to the next step and I’ll explain more there…
Now paint the rest or your nail with 2 coats of red polish. Let it dry really well. For those of us who had no stickers this is what you will need to do, Just grab an old rounded eye shadow brush that you don’t use anymore or rounded paintbrush dip it in your nail polish remover and clean up the moon of your nail. If you used stickers once the polish is nice and dry slowly peel off the stickers.
Finish off with your top coat and voila! Bare moon nails.
Now I wanted to do a little something more so I painted on some leopard spots like this…
Either way they are both fun and unique!
So there you go! An incredibly easy way to jazz up your normal nail polish routine!
I’d love to hear what everyone thinks!


No comments:
Post a Comment