About Me

My photo
I'm just a rockabilly gal with a huge passion for makeup, nails, beauty, pin ups, eBay shopping, red, and fluffly stuff. I also love my man and our little family. I'm a Wife, a mother, and beauty school student. I'm pretty busy these days but promise to share my best ideas for nails, hair, and makeup!...

Monday, February 6, 2012

rock, paper, SCISSORS...


Hiya!!
I’ve finally got a couple of minutes so I’m going to use this time to blog!
School has been amazing! harder that I'd initially thought but I know it will be worth it! And on that note, my nails are actually school inspired!
I loved cutting week so much that I came home and cut our daughters hair.
 (I had to keep telling her to keep her head straight she was a wiggle britches!)
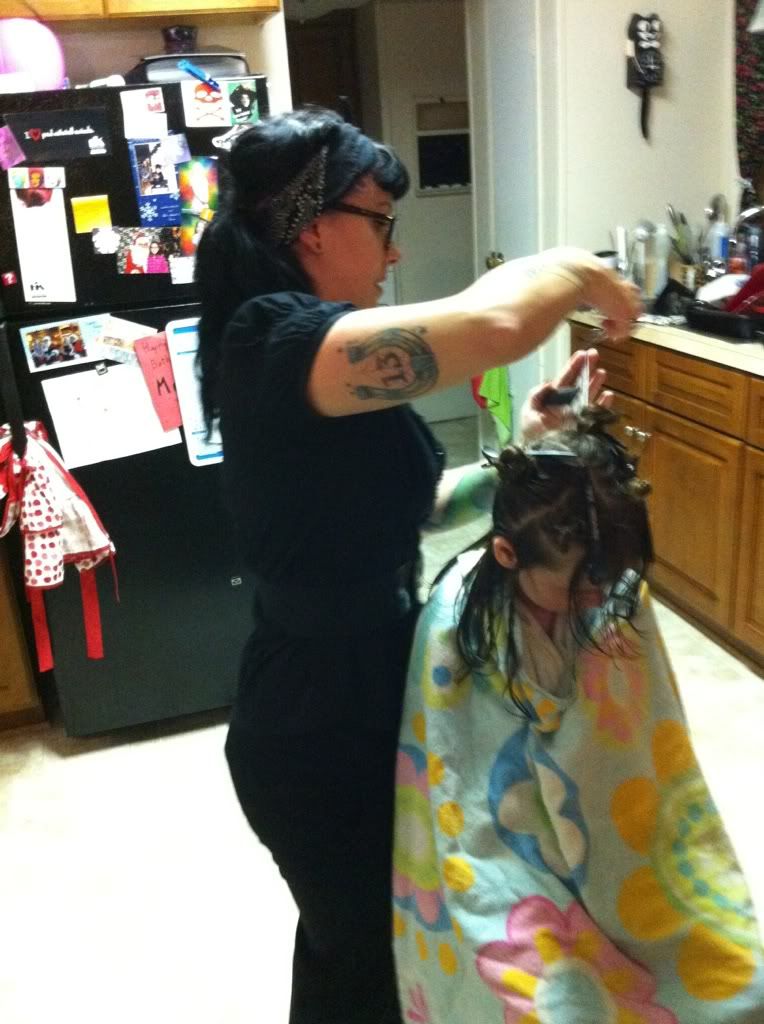
I would have cut my hubbys hair too but I need him to have a lot of hair for my men’s hair cut at school coming up soon.
This is the finished look for this nail tutorial...
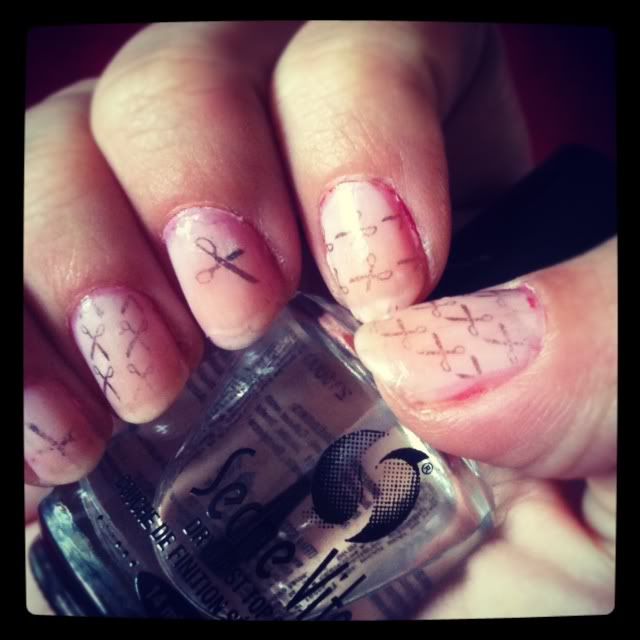
I used the “newspaper nails” technique, and in case you aren’t sure how to do that I will explain.  It’s super easy and very cute. I’ve done this a few times, but I didn’t want just regular old newspaper print, I wanted scissors, since this has been my favorite part so far!  I found the scissors character using the wingding font I believe it was shift 5 and shift 7 (but don't quote me on that) then typed a bunch of different sizes printed it and used that instead of newspaper!
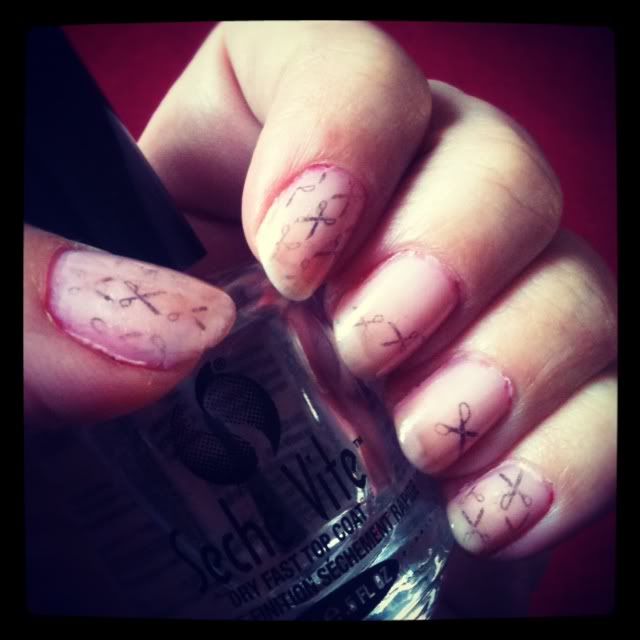
Okay, lets get to the tutorial shall we? 
here is what you’ll need:
  1 Small glass/bowl
 Rubbing alcohol
  Strips of newspaper articles , comic strip, or print off your own characters
  Any light colored nail polish (whites and pastels work best)
Clear top coat polish

So first polish your nails with your desired coats and let dry
Then pour some rubbing alcohol into your small glass/bowl and
Dip your (dried) nail in the rubbing alcohol (make sure you wet whole nail)
Place and press a strip of the newspaper/comic strip/printed out characters on your nail and hold firmly but careful for 30 seconds. (try not to move the strip around)
Remove strip slowly and carefully and repeat on each nail or a select few nails if desired
Finally, polish your nails with a clear top coat! I, as always use Seche Vite

 this is the newspaper print version 


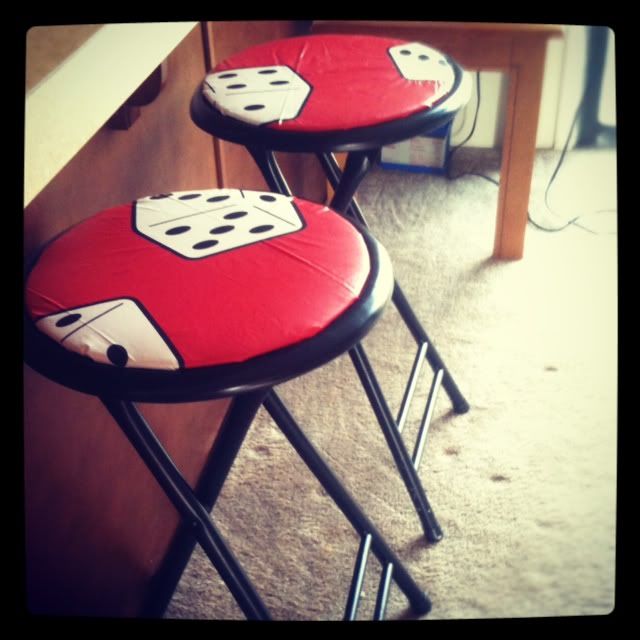
I’m excited about how productive I was today! On top of it being my cleaning day I got laundry done organized, cleaned and decided to reupholster these stools we had with some material I had laying around the house! Here is how they turned out…
Well enough rambling for now…
Thanks for reading!
 I’d love to hear comments questions or ideas.

Until next time…
Photobucket

Monday, January 23, 2012

Polka Dots, cherries, and a cold…

Hiya Everyone!
I've finally had the chance to do something different to my nails. Between school, family, and this nasty cold I’ve come down with my nails have been put on the back burner…but fear not here is a new one!


So for my nails I used OPI mod about you, some cheap nail art pens for the white polka dots, cherries, and green stems. last but not least, my favorite top coat Seche Vite! Super easy, super adorable, and of course staying true to my love of all things retro.

As for everything else, my cold seems to be going away(thank goodness), school is amazing(doesn’t really feel like school it’s just so fun), and my family is great(we are the coolest family ever)!
My hubbs had me helping out with another project for the 53 Chevy last night, this time he had me helping him make his custom steering wheel that he’s come up with, I love it and its definitely every bit us, heres the progress on that…
horseshoe, pistons, and belt buckles oh my!
 (above, me watching him work away on this steering wheel, 
i was thinking 'lets hope there's a method to his madness'.)

And for being such an awesome wife my man got me this really fantastic Coop hoodie!!

Okay enough rambling…I’ve got some house stuff to catch up on!
Until next time…

Photobucket

Monday, January 16, 2012

A girl should be two things: classy and fabulous." — Coco Chanel


Hiya!!
So I want to start by saying I’ve had a wonderful week!
 I’ve got to thank my husband for paying for my schooling and being so helpful, understanding, and supportive! Paul Mitchell schools are amazing!  If you’re thinking of going to beauty school and you have a Paul Mitchell school in your area it’s worth it!
I don’t have a lot of new nail stuff going on right now, but I did a pretty little vintage hair style on my doll head.


Here she is with her pretty vintage hair. Oh I named her Delores by the way!
My days have been so busy! I’m hoping to come up with a new nail idea soon!
Thanks for reading!

Until next time…

Photobucket

Friday, January 6, 2012

I Can See Clearly Now...

That I've found the best eye makeup remover ever!

Hiya Everyone!
So I ran out of makeup remover the other day and when I was out shopping for school clothes I stumbled across H2O+ water activated eye makeup remover.

 I’m a pretty big fan of H2O+ products anyhow but at only around $4.00(at T.J. Maxx) I figured I’d pick it up. Plus it saved me a trip to the drugstore. I love this product so much I wanted to write a little review/recommendation. I have oily/combination skin so anything oil free is what I need.  And I love bold waterproof smudge proof eyeliner and somewhat of a heavy mascara so needless to say eye makeup remover is essential for me. The first thing I noticed is it’s a gel like consistency which is good but it’s not too thick. But beware! it comes out way too fast. You only need a teeny tiny bit to do the job. Maybe they could fix this with a different tube or maybe a pump or even just a smaller hole, that hole is way too big for this product (Or just be careful).
(see pretty big opening trust me it comes out fast!)


I just put a dab on my fingertips gently rub my closed eyes ,
occasionally adding a bit of water. To my surprise all of my liner and mascara was gone, once I rinsed my face. Usually I have to take a q-tip to my bottom lash line, with this I didn’t. And I absolutely love the way it makes me skin feel. The formula is great I have pretty sensitive skin and this didn’t bother me at all. The skin around my eyes actually feels soft and clean afterward. No residue, grease, or oily feeling. It’s got quite a bit in it and only using a drop at a time this tube will definitely last a while!
So if you’re in need for a new eye makeup remover I would definitely give this one a shot.


On another note it is absolutely beautiful outside so I’m headed out there while it lasts. Not too many January days we can say that!


Thanks for reading! I’m open to any questions, comments, & requests!

Photobucket

Thursday, January 5, 2012

My Not Just Plain Old Red Idea...


Hiya everyone!
What a week it has been!
Getting back into the swing of things after a two week break has been quite a task!
But after working on our 53 Chevy with my hubby…
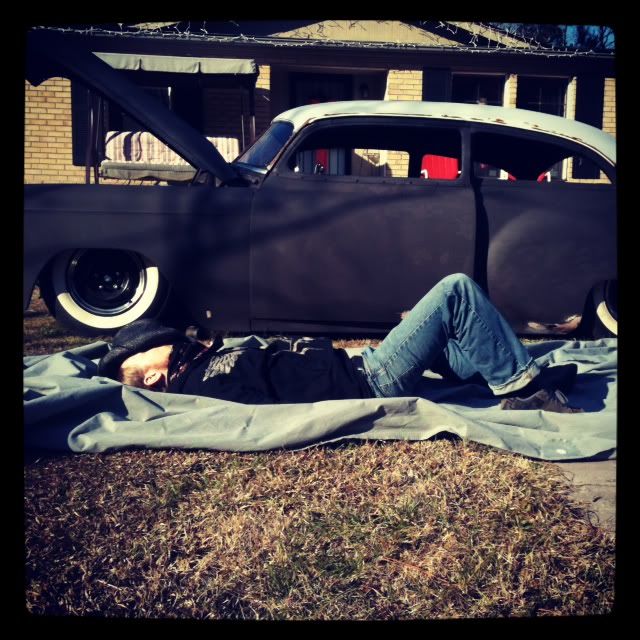
(Here’s our 53 Chevy Rat Rod Project and my man taking a nap after a long day of working on it.)
 (this is definitely my new favorite picture!)
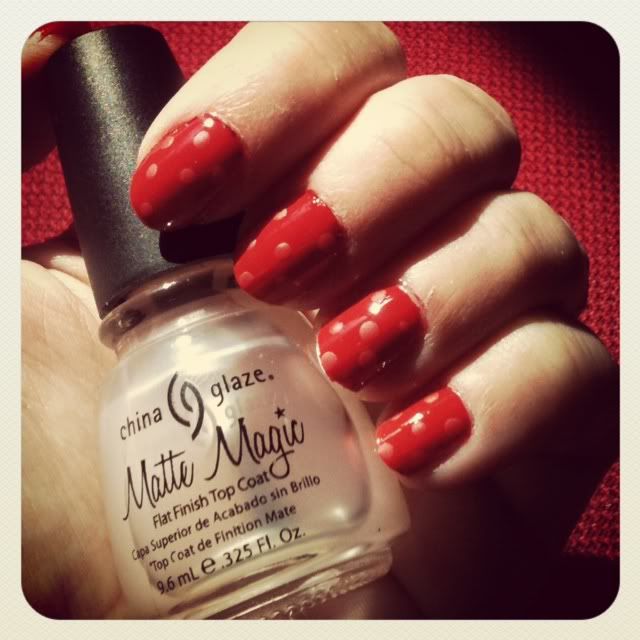
 I had to do my nails they were all chipped, stained, and just really bad. I probably don't need to say this but red polish is my thing, no matter how many great colors I buy I always end up with red nails. So I did a little something this time that I think came out pretty nice. 

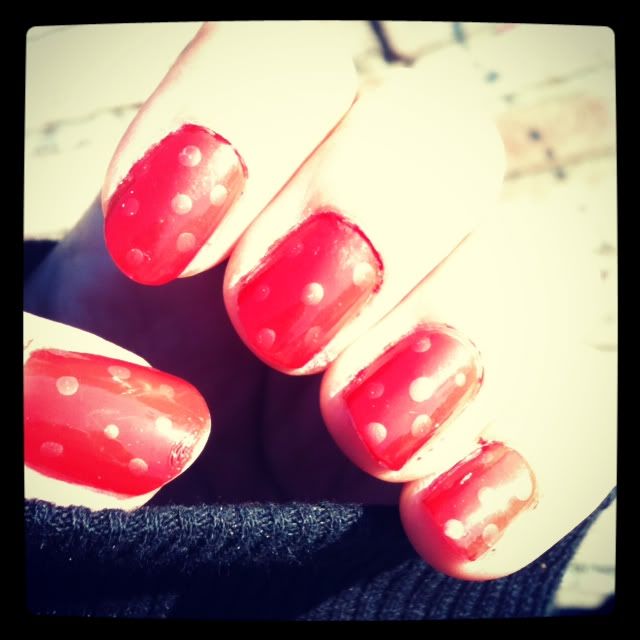
It's a subtle design. Basically I just threw a couple coats of red polish then my top coat as I normally would and took my Matte Magic by China Glaze and lightly dabbed little dots on to make some matte polka dots. 
here's a picture out in the sunlight 

I love it!

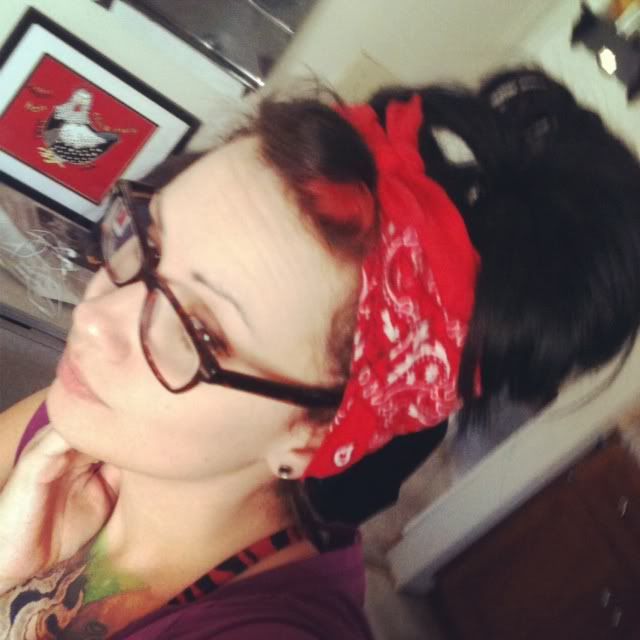
And here’s my working on the car with the hubs hairdo haha…
my go to accessory the bandanna!
Just thought i'd share that quick little idea with everyone!
until next time...

Photobucket